Introduction
An introduction to GameMaker:
Studio.
We all know that playing computer games is fun. But what many
people don't realise is that it is actually more fun to
design your own computer games and let other people play them! Now,
making computer games is not normally a simple thing and the
commercial games you buy nowadays typically take two or three years
of development with teams of anywhere between 10 and 50 people and
budgets that can easily reach millions of dollars. Not to mention
the fact that all these people are highly experienced: programmers,
art designers, sound technicians, etc.
But that's changed with the advent of GameMaker: Studio.
With GameMaker: Studio you can start to prototype and create
your own computer games quickly and easily without the absolute
need to learn a programming language.
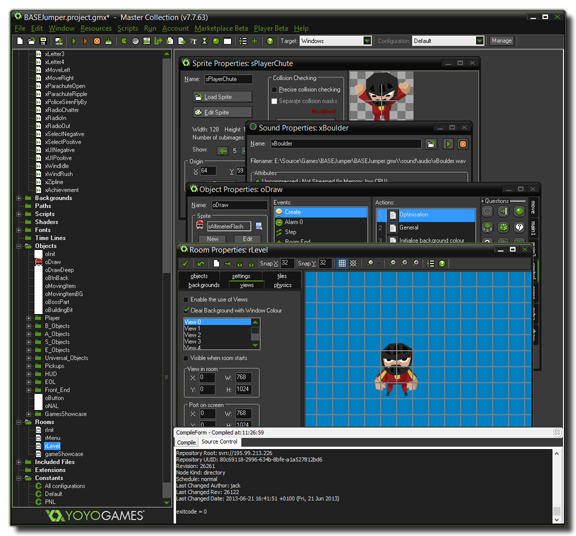
GameMaker: Studio offers an intuitive and easy to use
Drag-and-Drop (referred to as 'DnD' from now on) interface of
action icons that allow you to start on creating your own games
very quickly. You can import and create images and sounds to use in
objects, and then instantly see the results of your actions at the
press of a button. Obviously, you want to get started as quickly as
possible, so GameMaker: Studio is bundled with a number of
tutorials and demos which you can import and use to get straight to
work. These tutorials contain many sprites and graphics which are
designed as "place holders" to get you going but they are
not for use in any finished product. It should be noted here
that GameMaker: Studio focuses on two-dimensional games
(which isn't to say that it's not capable of 3D, as it is!) and
many great games use 2D sprite technology, even though they look
very 3D when playing. 
As mentioned previously, you need to assign images (sprites) and
other things to objects, which are easily defined in your game
through the DnD action icons to give them properties and behaviour,
after which you place them in rooms along with backgrounds and
other things to give your game the look and feel you want. It's in
these rooms that the game takes place, and they can be considered
essentially as "levels" to your game. If you master the DnD
interface and how it works to control basic things in objects, you
can then move on to the easy to learn programming language GML
which gives you much more control over every aspect of
GameMaker: Studio.
This help file will tell you the most important things you need to
know about GameMaker: Studio and how you can create your own
games with it. Please realize that, even with a program like
GameMaker: Studio, designing computer games is not
completely effortless - so no "make a MMORPG" button here! Be aware
too that there are many aspects to making games that are all
equally important: game-play, graphics, sounds, user interaction,
etc... but, the most important aspect of all, is patience.
While GameMaker: Studio is a powerful tool, it cannot do
everything for you at the touch of a button so start small with
simple examples and you will realize that not only is creating
games great fun, but that learning to use GameMaker: Studio
to do it is also very rewarding!
For more information, examples, tutorials, ideas and links to
helpful forums and other great sites, check out the website
http://www.yoyogames.com/
Soon you will become a master GameMaker yourself. Enjoy the
experience!
© Copyright YoYo Games Ltd. 2018 All Rights Reserved
